DIY Dust-Proof Shelving for Drying Art
When I first started my art journey, the No. 1 thing I struggled with was finishing! And by finishing I mean figuring out how to get my artwork to dry just like I left it.
Painting is a love/hate relationship. The hate part comes into play hard when you wake up one morning and find your masterpiece destroyed. The worst part? A million things can gone wrong during the drying stage, so figuring out what happened is the first step. If you mix your paint to medium ratios wrong, or your painting is not properly leveled, disaster will almost certainly ensue.
The Avoidable Culprit
But the most annoying, most blood-boiling instigators of masterpiece murder can actually be AVOIDED. Yes, I’m talking about dust but also hair (of both the human and fur-baby variety) and BUGS! I don’t know what it is about insects and paint or resin but their untimely suicide has ruined more than a few of my works.
One night, I had a total melt down about a ‘giant’ piece of hair or dust or SOMETHING that had dried on the white background of one beautiful, perfect pour. After much cooing, Drew finally convinced me that it wasn’t a loss and he “hadn’t noticed it at all until I mentioned it.” He’s so supportive…and biased.
The Solution
My meltdown led to a rabbit hole of research and after several days of discussion with Drew, who is WAY more handy than I, we figured out a game plan to protect future artwork from this tragic fate.

I’ll save you all that foot work and tell you what you need in this handy-dandy list:
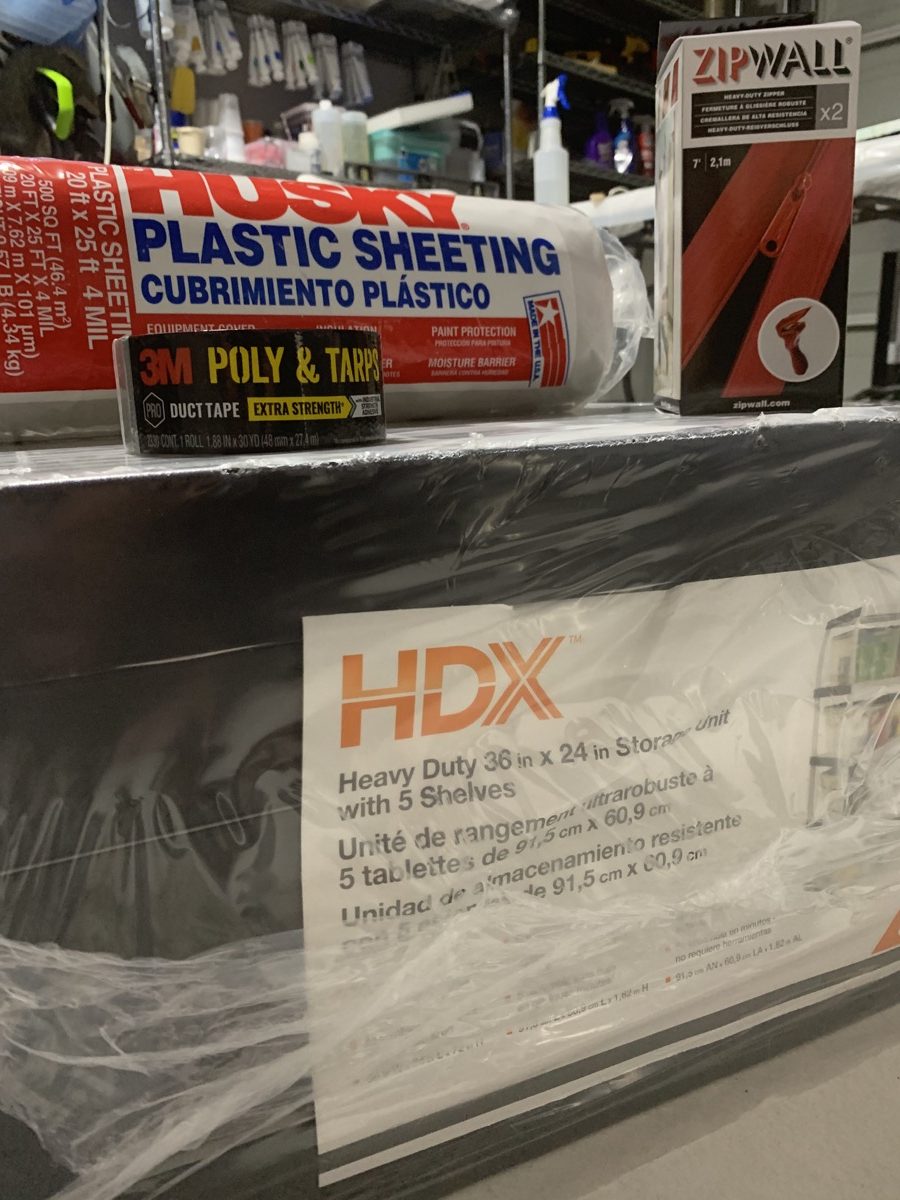
DIY Dust-Proof Drying Rack Supply List
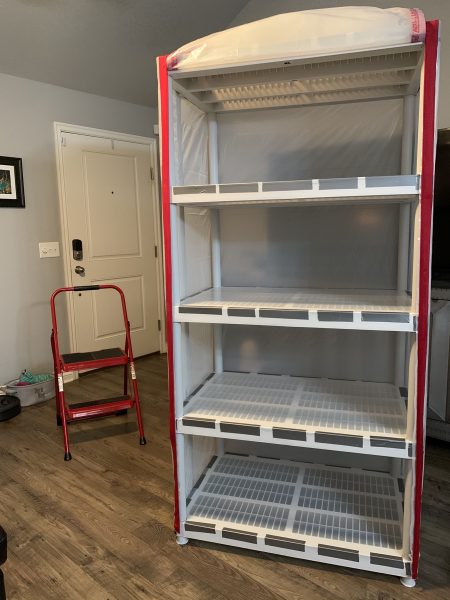
First, you need a durable, but affordable shelving unit. Your unit needs to be pretty wide to fit a variety of painting sizes. I only had a small but fair amount of space in the garage that I could use, but we ended up finding the perfect stacked shelves for this purpose. Check it out.
Next, grab some plastic sheeting. I recommend this kind by Husky because it’s super durable and it ended up being the perfect amount for our shelves but you can also opt for thinner, less expensive options.
Ready for the game changer? Grab a ZipWall. WOW. When Drew told me this was a thing, I legit didn’t believe him. But man, is it brilliant. You can turn any piece of plastic into a DOOR. Mind. Blown. 🤯 This is definitely an upgrade, and you can opt for velcro or magnetic tape if you’re cutting cost. A ZipWall is amazing at keeping ALL the dust and hair out, and is the most durable long-term.
Finally you’ll need some Tarp Tape. I recommend spending a few extra dollars on the good tape. This will ensure the best seal for a long time.
You’ll also want to have scissors or a knife on-hand for trimming plastic sheeting, cutting tape and scoring the ZipWall.
DIY Process
Ensure a clean work space
If you’re making a dust-proof rack for your art work, be sure to start in a clean work environment. You don’t want to start by laying your sheeting on a dirty floor, or you’re already ruining the point.
Seal every shelf COMPLETELY
Completely seal each shelf in plastic sheeting. This will protect leaks from dripping from one shelf to the next.
Assemble and seal the entire unit.
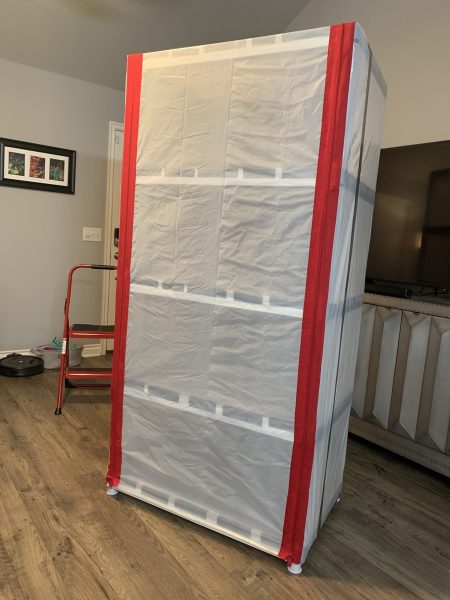
Assemble the unit and make sure that your shelves are LEVEL. Cover the entire unit in your plastic sheeting, so that it is totally sealed from the outside world. This part is where a partner comes in handy. It’s best if one person holds the plastic sheeting tight, and the other tapes.
ZipWall it
Hold your ZipWall pieces against each side of the ‘front’ of your unit so you know where you’re going to place them. Remove the sticky backing and seal from the top working down. Repeat on the opposite side. With the zippers open, use your scissors or knife to score the plastic. I left the inside plastic for a better seal and did not score the entire panel behind the zipper.
If you’re opting for velcro or magnetic, take care to make sure that the seal is strong.
That’s it! Now you have a multi-shelf unit to protect multiple works of art while they’re drying.
This has literally saved my sanity, and I can sleep soundly knowing that I won’t wake up to any dead bugs in my art, or random pieces of dog hair/dust.
Be sure to check out my quick how-to video for a better look at the process!


